
Hi Everyone,
Today, I will be showing you how to integrate PowerApps in a Power BI report. Herein, I will also mention some key points that you need to consider before creating a PowerApp. Let’s get started. 😀
Some prerequisites for the integration between PowerApps and Power BI.
- Both PowerApps and Power BI reports needs to be connected with the same data source.
- To perform CRUD operations on PowerApps you need to make sure that the data source (SQL Server in my example) has a primary key.
- Power BI report and PowerApps needs to be created on the same user account.
First, we need to create a PowerApp based on the data source. My data source is in the SQL server. I have already created the PowerApp, so I won’t be showing how to create the PowerApp as it is out of scope of the topic. This is the PowerApp I have created.

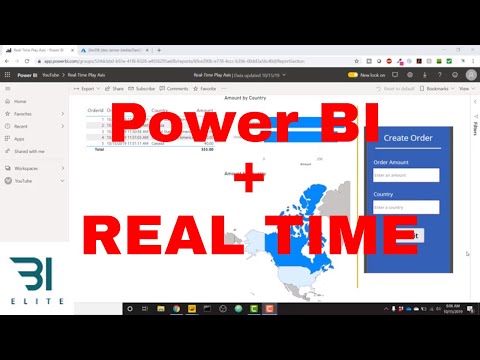
After creating the PowerApp, you need to create a Power BI Report based on the data source that you have created the PowerApp. I have imported the tables in Direct Query mode since I want to create a real-time report. Here is the Power BI Report that I have created.

Now I will be going to Power BI Marketplace and import two visuals
- PowerApps Visual
- Play Axis Slicer


After importing the visuals I will put it into canvas and it will look as shown below.

Now I will drag and drop all the fields into the field well of PowerApps visual and it will look like the following.

Since I have already created the PowerApp I will choose the Choose app option in the PowerApp Visual.
After doing so it will show me all the available apps that are associated with my account as shown below.

Now choose the app it will prompt you the loading screen of the app and your app will be finally loaded.

My visuals are in Direct Query mode and I am creating a real-time report for that I need to make my visuals refresh automatically after a specific interval of time. This is the moment where my play axis slicer comes into the picture.
I will now create a calculated table as shown below.

After doing that, I will place the value field into the play axis slicer.

You can make the slicer to auto-start or enable the loop into the format options of the visual as per your needs. I have kept the slicer to auto-start as with every increment the slicer will let all my visuals to refresh.
Now it’s time to check by inserting a new record into the data source using the Power Apps visual. 😀
My table visual contain these rows before I’ve inserted the new row.

Now I am going to add the following record using my PowerApps visual.

It will show Micheal’s record into all my visuals of the report now as shown below.

As you can see Micheal’s record is added into all my visuals & it has also added the row into my SQL table.
So this is the method I have used to create a real-time report. I have published this report into the Power BI service. As we all know in Power BI service, we can refresh once every 30 mins but with the help of the play axis slicer the refresh it called directly from the source itself.
Due to this, with every increment of the specified interval, the refresh is called upon. Making my data to refresh often.
There’s this amazing video tutorial explaining about this integration thank you Parker for uploading this. Here is the link to the tutorial.
Hope this helps! 🙂
Anik Bhattacharjee
Addend Analytics
https://www.addendanalytics.com/