
Have you ever thought, how can we let the user know how stale your data is in the report?
In this blog, we will see how to add a last refreshed date in the Power BI report. Even this can also be used to see your automatic refresh is working fine or not.
Let’s get started…
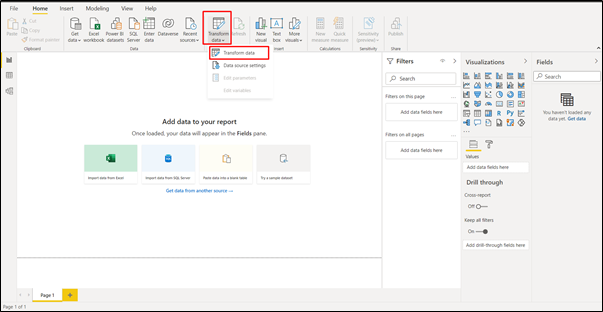
Step 1: Open Power BI desktop, click on Transform Data option.
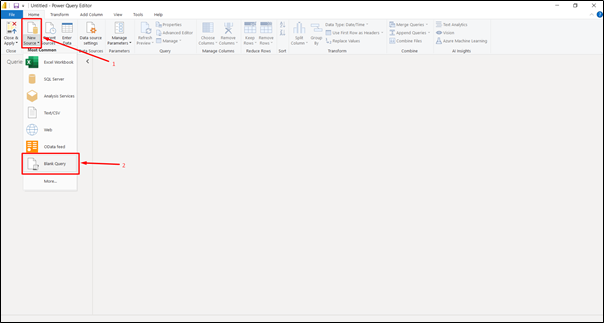
Step 2: From the Home ribbon, click in New Source option and select Blank Query.
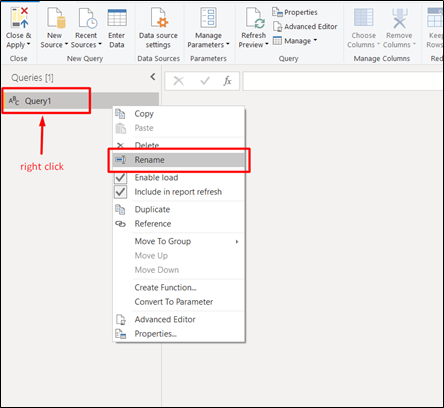
Step 3: Once you have Blank Query table “Query1” in place under the Queries section, right click on it and rename it to “Last Refreshed Date”.
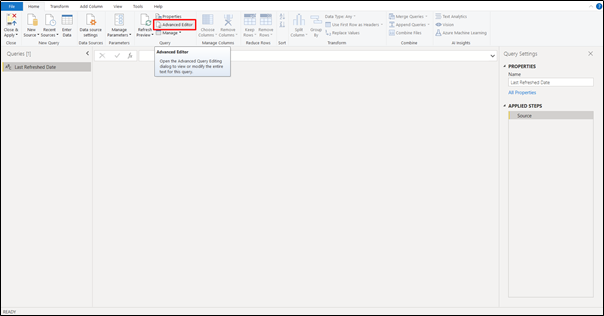
Step 4: Now, open the Advance Editor from the Home ribbon and paste the below M code.
M Code
let
Source = #table(type table[Date Last Refreshed=datetime], {{DateTime.LocalNow()}})
in
Source
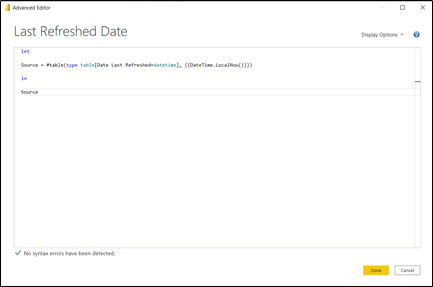
Once you pasted the code, click on Done.
Now, the M code will create a column with name “Last Refreshed Date” which has current date and time. This date will get updated every time you refresh the dataset of the report.
Now, click on Close & Apply.
To show last refreshed date you can either use a card or a text box depending on the space you have.

This is all about adding a last update date detail on your report.
I hope you will find this blog helpful.
Gaurav Lakhotia
Data Analyst
Addend Analytics