What is personalization in Business Central?
Personalization lets you decide which actions to show on the navigation and action bars and on Role centers, and where to show, hide, or move individual actions or action groups.
The process to do personalization in Business Central.
Step 1: – Click on the setting icon which is present on the navigation bar in Business Central.

Step 2: – After clicking a dialog box will appear from there select personalize option.

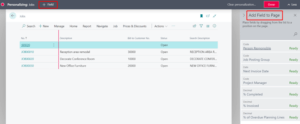
Step 3: – Then personalization mode will appear as shown below in the image.

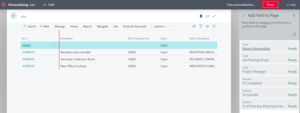
Step 4: – Now click on the add fields option. A dialog box will appear “Add field to page” from where you can find the fields which you can add to our page.

Step 5: – To add the fields just need to drag the fields from the dialog box and place it on the page where you want them.
Example: – Assume that I want the “Date” field after the “Description” field. So, I will drag that field and place it after the description.


As we can see, the “Date” field is displayed now after “Description.”
And from personalization, we can also move and remove the fields not required in our sandbox environment.
To do so we just need to hover over the fields and an arrow-type icon will appear need to click on that then the small dialog box will appear with the available options.

After doing all the changes click on the done icon which is present on the personalization line.

Similarly, you can do personalization for different pages like the card page, list page, role center, etc.
I hope this will help you in solving your purpose, to accomplish your goals using business central.
All the Best!
Khush shah
Technical Consultant D365 BC
Addend Analytics


