What is Visual studio?
Visual Studio is a streamlined code editor with support for development operations like debugging, task running, and version control. It aims to provide just the tools a developer needs for a quick code-build-debug cycle and leaves more complex workflows to fuller featured IDEs.
In business central when we want to do the customization or want to add new fields, we need to use vs code.
So, in this blog, we are going to learn how to create a new project in VS Code for Business Central.
The process to create a new project for business central.
Step 1: – Press Ctrl+shift+P then a dialog box will appear from that dialog box select “AL: Go!”

Step 2: – Then next dialog box will appear where you can give the name of your project.


Step 3:– Then press enter after that a new dialog box will appear from where we can select the version which we want to use.

So, for this project I‘m going to use 9.0 Business central 2022 release wave 1. we can take any of the versions which we want to use.
Step 4: – After this new dialog box will appear from where you can select the server you are going to use.

Here I’m using a cloud sandbox server because in recent times most companies use cloud servers very few companies on-premise servers.
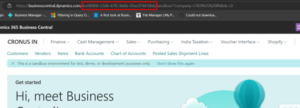
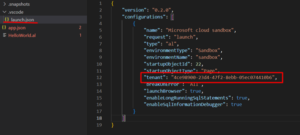
Step 5: -After these, your project will create but to start working on a project you need to connect your Business central tenant id with VS code.


Step 6:– After doing these press Ctrl+Shift+P and click on download symbols.

After symbols get downloaded you are good to go for doing the customization.
I hope this will help you in solving your purpose, to accomplish your goals using business central.
All the Best!
Khush shah
Technical Consultant D365 BC
Addend Analytics


